
Install EPM Workbench
Install the extension first. Free works without an account or Seat Key: create a Library Folder and start writing rules. Adding a Pod, including importing a Snapshot for Offline Mode, requires a paid tier.
1. Install the extension
Section titled “1. Install the extension”From inside VS Code:
- Open the Extensions view (
Ctrl+Shift+X/Cmd+Shift+X). - Search for EPM Workbench.
- Click Install.
You can also install from the Visual Studio Marketplace in your browser and choose Open in VS Code.
On the Free tier you are done, with no account and no Seat Key. To get started, give your rules a home: click the EPM Workbench icon in the Activity Bar, open the Pod picker at the top of the sidebar, and choose Create New Library Folder. A Library Folder holds your Rules, Templates, and Scripts with no Pod behind it, and it is available on every tier.
Open a rule there, or any .groovy or .csc file anywhere on disk, for
highlighting, @function and keyword completion, formatting, and
Validation Rules on the open file. Language
intelligence works one file at a time on Free: only the rule you have open is
ever sent to the language service, and nothing else in your Library is read or
sent (see privacy). Free cannot add a Pod or import
a Snapshot. Those workspace and Offline Mode features require a paid Seat Key.
2. Activate your Seat Key
Section titled “2. Activate your Seat Key”Paid tiers are activated with a Seat Key. Open the Command Palette
(Ctrl+Shift+P / Cmd+Shift+P), run EPM Workbench: Enter Seat Key, and paste the
key your administrator assigned you. See Seat Keys for how
keys are issued, moved, and renewed.
The Offline tier adds Import Snapshot, the full Pod workspace, Full Application Intelligence (dimension and member completion across your whole application), and the Validation Rules panel with Exceptions and workspace-wide scanning. The Full tier adds everything in Offline plus the live connection: Pull, Push, Deploy, Execute, and OAuth sign-in.
3. Add a Pod (paid tiers)
Section titled “3. Add a Pod (paid tiers)”After activating a paid Seat Key, click the EPM Workbench icon in the Activity Bar, then click Add Pod… at the bottom of the Pod picker. (EPM Workbench: Add Pod in the Command Palette does the same thing.) An Add Pod editor tab opens.
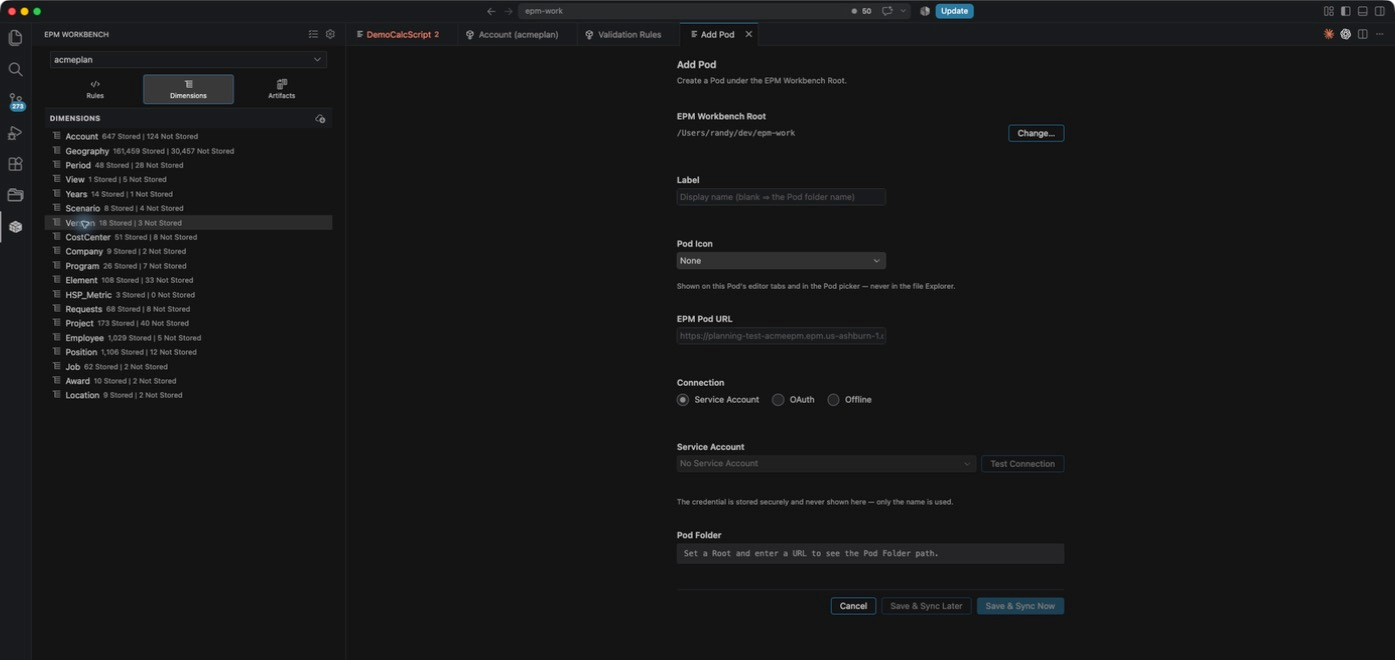
The first field is EPM Workbench Root: the folder on disk where your Pods live. If you already have that folder open in VS Code it is filled in for you; otherwise click Change… and pick one. New Pods are created under the Root. Like any folder you open in VS Code, the Root must be trusted for your Pods to appear (see the trust note above); if you pick a Root outside the folder you have open, the extension reminds you and offers Manage Workspace Trust.
Give the Pod a Label and, if you like, a Pod Icon. Then choose a Connection, which is where the flow branches.
Offline
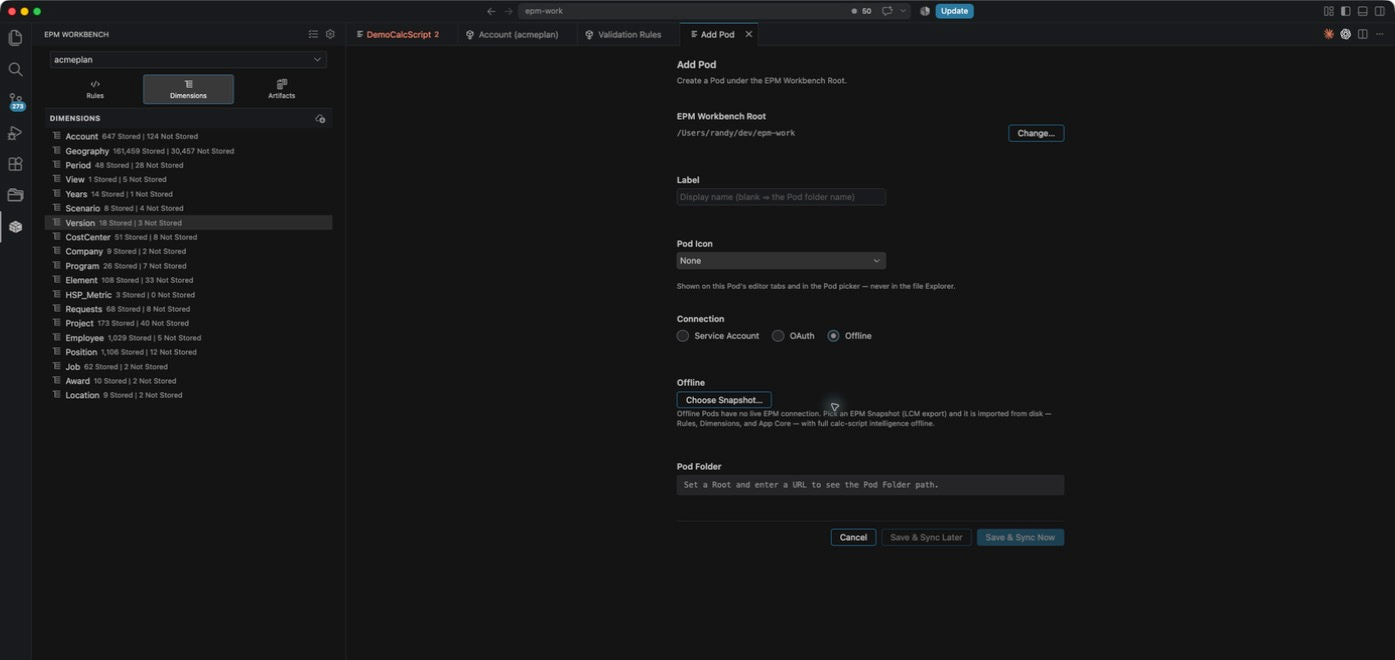
Section titled “Offline”Available on the Offline and Full tiers. The URL and credential fields disappear. Click
Choose Snapshot… and pick an EPM Snapshot zip downloaded from your Pod. The
application (acmeplan, say) and its plan types are read straight out of the file. Save
creates the Pod, populated from disk. See
Offline Mode.
Service Account
Section titled “Service Account”Available on the Full tier, and connects live to Oracle. Enter the EPM Pod URL, for
example https://planning-test-acmeepm.epm.us-ashburn-1.ocs.oraclecloud.com. Pick a
Service Account or create one (a name, the EPM username, and the password; the
password is stored securely by VS Code and never shown again). Click
Test Connection, which discovers the application and its plan types, then
Save & Sync Now to Pull everything down.
Also Full tier and live, but you sign in as yourself instead of as a shared account. Enter the EPM Pod URL, Identity domain, Client ID, and EPM resource scope (per Pod), then click Connect with your EPM account and complete the sign-in. This one needs a one-time setup by your identity domain administrator. See Connect with OAuth.
4. Start editing
Section titled “4. Start editing”Select your Pod in the Activity Bar, expand it down to a rule, and open the file. See the editor guide for what you get once a Pod is in place, and Settings for tuning how the extension behaves.